Landing pages are what users see after clicking a link in a phishing simulation. With this feature, admins can create fully customised landing pages directly inside the Command Centre and attach them to specific templates, making every simulation a more controlled and intentional experience.
Once created, a landing page is saved to the Content Library as a reusable asset. You can attach it to any template, across any campaign, as many times as you need.
Getting started
Landing pages are created from the Content Library. Navigate to the Phishing tab and select Create Simulation or Landing Page, then choose Landing Page.
You’ll be prompted to select one of two creation methods:
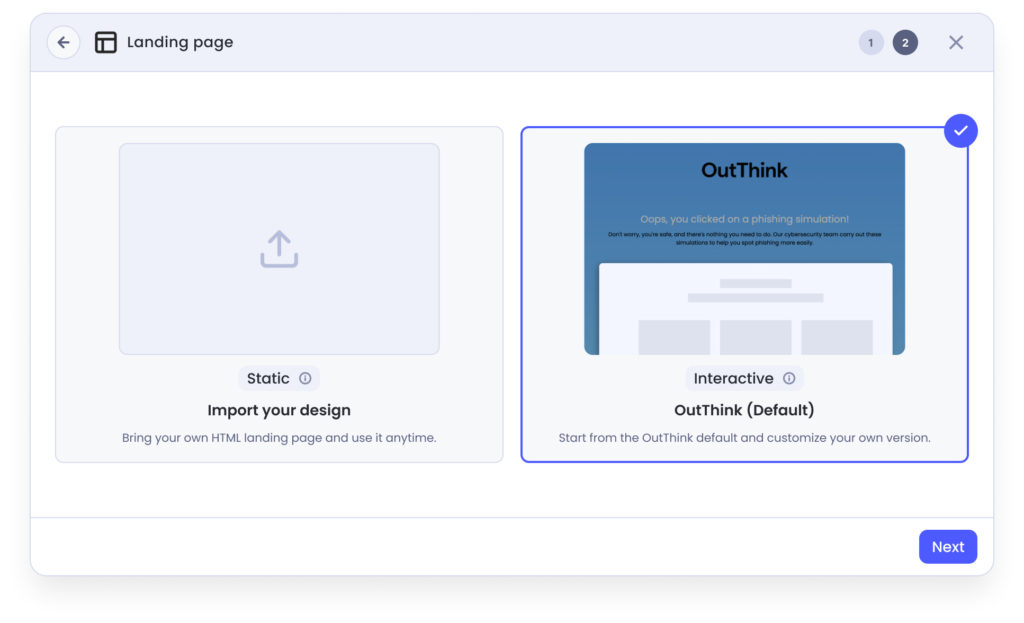
- Interactive: Start from the OutThink default and customise it. Supports Interactive Clues and User Feedback.
- Import HTML: Upload your own HTML file or write code directly in the platform. Interactive Clues are not available in this flow; User Feedback can still be enabled.
Interactive landing pages
When you select Interactive, OutThink automatically creates a copy of the default landing page for you to work with. Your global default is never modified.
Branding: The page inherits your organisation’s fonts, colours, and gradients from Global Settings. Any changes you make here apply only to this landing page and will not affect your global configuration.
Content: You can edit the page title and description to match the context of your simulation. The disclaimer at the bottom of the page is not editable, as it is required on all OutThink-hosted pages.
Toggles
Two toggles control the user experience:
- Interactive Clues: When enabled, users will see phishing indicators on the page after clicking. When disabled, users only see the page content without any clues. Note that clues are pulled from the email template this landing page is attached to.
- User Feedback: When enabled, users are prompted to reflect on why they clicked the simulation link.
Preview
The preview panel updates in real time as you make changes, showing exactly what users will see.
Import HTML landing pages
Select Import HTML to upload a custom page. You can either drag and drop an HTML file (max. 2MB) into the upload area, or edit the HTML code directly inside the OutThink platform.
What to keep in mind:
- Interactive Clues are not available for imported pages.
- User Feedback can still be enabled.
- Pages are saved to the Content Library for reuse.
Saving and publishing
When saving a landing page, you can choose to:
- Publish to your organisation only: visible to your org and to any parent organisation above you.
- Publish to all sub-organisations: visible across all child orgs beneath you.
A thumbnail is generated automatically based on the current state of the page. Once saved, the landing page appears in the Content Library under the Landing Pages section.
Using landing pages in campaigns
Standard campaigns
In the campaign creation flow, landing pages are assigned at the template level. When adding a template, select a landing page from the dropdown. Use the preview switcher to toggle between the email preview and the landing page preview side by side.
If your campaign includes multiple templates, each one can have a different landing page assigned.
Autonomous AI Phishing
For Autonomous AI Phishing, navigate to Phishing General Settings. There is a single landing page selector here — one selection applies across all emails sent through the autonomous flow.