At OutThink, we understand that enterprise organizations are rarely one-size-fits-all. Whether it’s due to different business units, geographic regions, or subsidiaries, each part of a large organization may have its own regulatory environment, tone of voice, language requirements, or internal policies.
That’s why we’ve extended our customization capabilities to support Level 2 sub-organizations with Sub-Organization Edits — a powerful feature that enables administrators to fine-tune OutThink training content and styles for specific sub-organizations. This empowers you to deliver relevant, tailored messaging at scale.
How it works:
By default, only Level 1 (L1) administrators — those at the tenant level — can make content edits to selected modules. Customers can choose to maintain this default or enable editing capabilities for Level 2 (L2) organizations.
Here’s what each option includes:
- Tenant-level edits (L1): Content edits are only allowed at the tenant level.
- L2 edits: Content edits are only allowed at the L2 level. When this option is selected, the L1 organization retains OutThink’s default pre-edited content. We recommend that no users be provisioned at the L1 level; instead, all users should be provisioned within their respective L2 entities.
Step 1: Choose your editing structure
Decide whether you’d like to implement content overrides at the L1 (tenant) or L2 (sub-organization) level. If you wish to switch to L2 edits, please submit a ticket to request the change.
Step 2: Edit your training content
From the Command Center, go to the Content Library and select the module you’d like to edit.
- L1 admins can edit modules on behalf of L2 organizations.
- L2 admins can only edit for their own sub-organization.
- L3 admins and below will not see the edit button.Please note that organizations beneath the L2 will inherit edits made at the L2 level within their hierarchy.
Please note: Organizations beneath the L2 level will inherit edits made at the L2 level within their hierarchy.
How to edit content
- Go to the Content Library, click on the module you’d like to edit, and then click Edit. The appearance and options of the edit button will vary depending on your current settings.


2. Select the organization for which you’d like to edit content — this step is not necessary if edits are configured at the root level (L1).

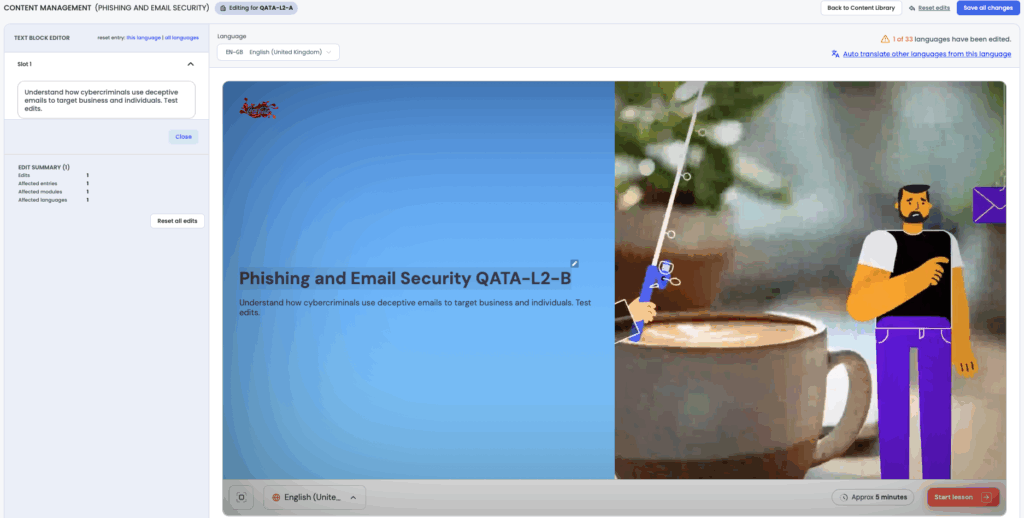
3. To edit content, locate the slide you want to update, select the text you wish to change, and click the pencil icon to open the text field for editing.
You can automatically translate content edits using the built-in translation engine, which seamlessly supports over 30 languages.

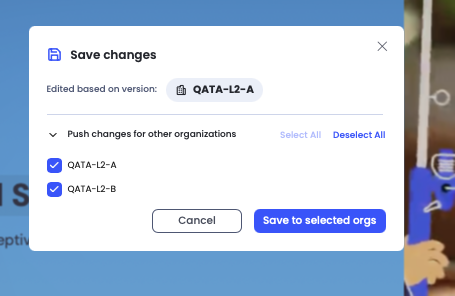
4. Once your edits are complete, click “Save all changes” in the top right corner of the content editor. L1 administrators can choose to apply the changes to all or selected L2 organizations.

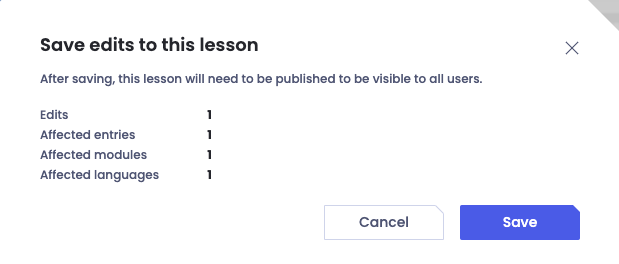
This will provide a summary of how many edits were made – if all looks as expected, the user can ‘Save‘ the edits.

5. Once the edits have been saved, the lesson needs to be published so that the changes are visible to all users. From the Training Editor screen, click ‘+ Select lessons to publish‘, choose the lessons through the relevant check boxes, and click ‘Publish selected lessons‘.

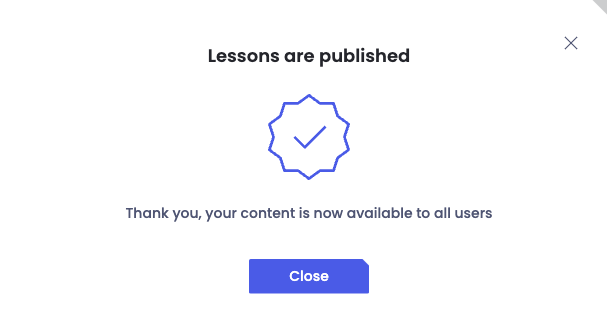
Once published, a message will display to indicate success.
