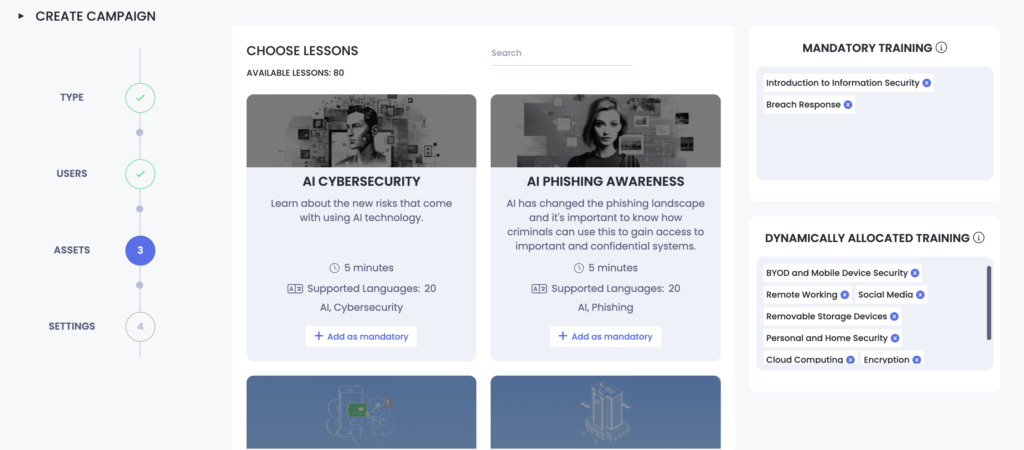
Once an administrator has picked the users to send the campaign to, they will then choose the assets to include in the campaign. The options available will vary depending on the type of campaign chosen.
Curriculum
When the type of campaign is ‘Curriculum‘, by default certain lessons will be selected to send to the set of users. These lessons can be viewed on the right-hand side of the page. Mandatory training will be delivered to all users. Dynamically allocated training will be assigned to users based on the questionnaire answers the employee provides at the start of their training. These questions are related to the employee’s working profile, such as if they travel frequently for work, work from home, or have access to privileged account. The Dynamic lessons are mapped by OutThink “behind the scenes” to be relevant to the answers of the questionnaire and cannot be interchanged with other modules outside of that mapping, they can however be removed from the asset training scope. To remove trainings, click on the ‘x‘ next to any given lesson.

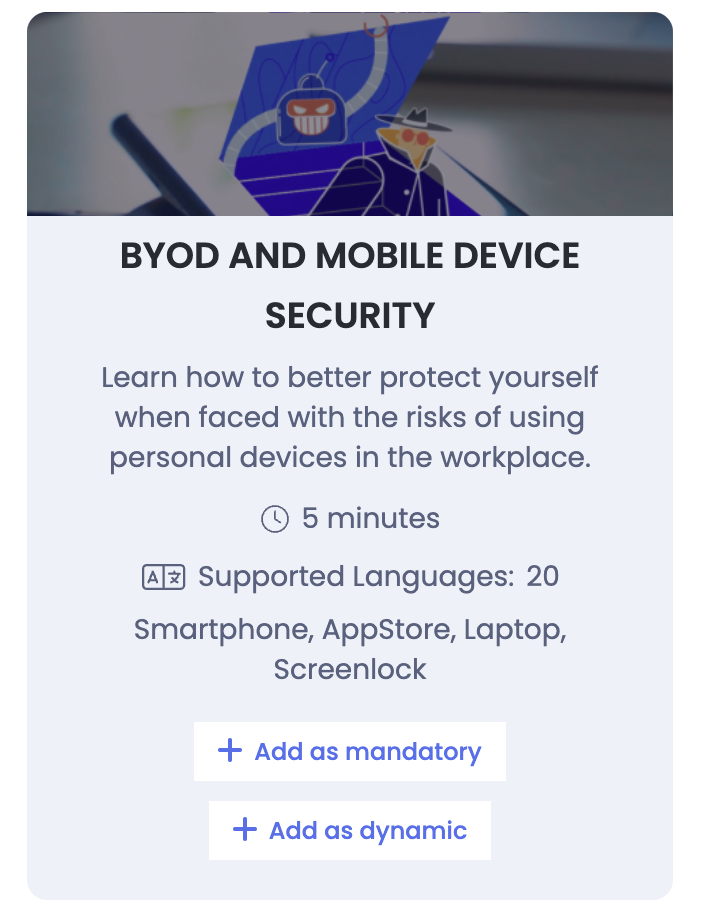
Lessons can also be added to the scope of the training. For any lessons which link to the questionnaire answers, the administrator can choose to add the training as either ‘Mandatory’ or ‘Dynamically allocated’ for the users. The remaining lessons can be added to the ‘Mandatory’ training scope for all users.

Any training module can be previewed before being chosen by clicking on the image in the lesson:

Once all required lessons have been added to the Curriculum, click ‘Next‘ to set the settings of the training.
Instant
When the type of campaign is ‘Instant‘, all lesson modules will be sent to all employees in scope. Multiple modules can be added by clicking the ‘+ Add‘ button, and lessons can be viewed ahead of being chosen by clicking the image in the lesson. Once all required lessons have been added, click ‘Next‘ to set the settings of the training.

Nudge
For a ‘Nudge‘ campaign, the administrator can search for and pick the template which will be sent to users via the Microsoft Teams EVA chatbot. Administrators can preview the template by clicking on it.

Simulation
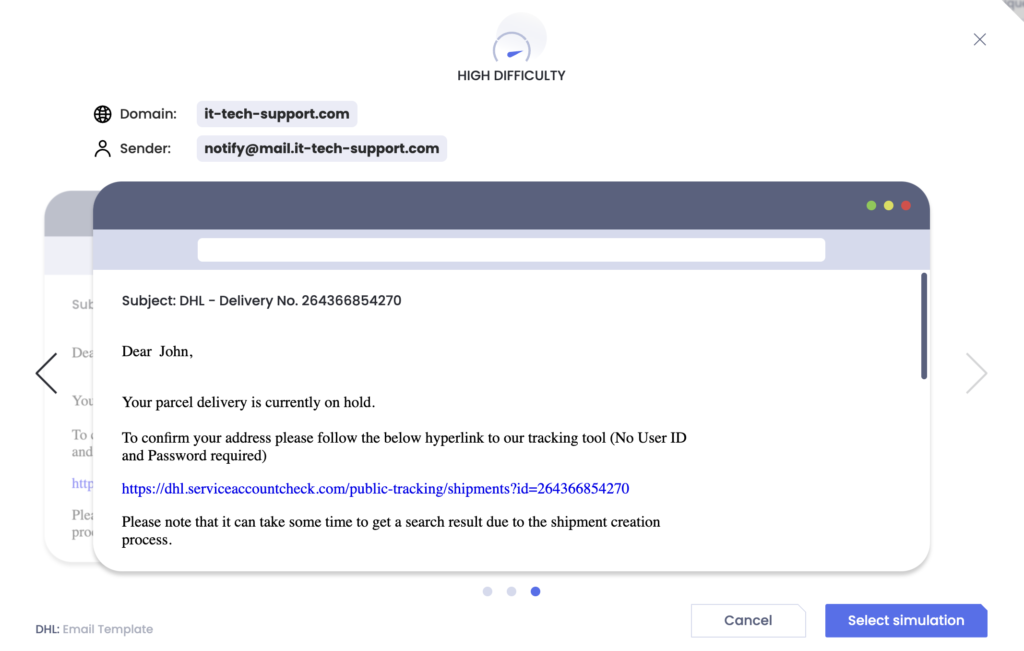
When the type of campaign is ‘Simulation‘, the administrator can pick a template to be sent in a phishing simulation campaign. To help find the desired template, administrators can filter the list by ‘Type‘, either ‘Click simulation‘ (simulations where users are compromised through clicking a link) or ‘Credential capture‘ (simulations where users can additionally be compromised through submitting credentials after clicking the link), or by ‘Social engineering technique‘, with options being ‘Authority‘, ‘Commitment and consistency‘, ‘Scarcity‘ or ‘Curiosity‘ which define the language and approach used to pressure users into clicking the link.

Administrators can preview the phishing simulation by clicking the image of the template, and can choose the template to use by clicking ‘Select‘. It will then follow that the administrator is requested to pick the difficulty level of the template to be sent by clicking the arrows to the left and right sides of the template and selecting Low, Medium or High Difficulty. It is recommended that different difficulty levels are chosen based on the competencies of the users to be phished. For those who are new to phishing simulations or who have repeatedly clicked on links, it is recommended to choose lower levels of difficulty and build up to higher levels as the users’ training develops, building their confidence in identifying phishing attacks through this process. Experts could be sent ‘High Difficulty‘ simulations immediately. Click ‘Select simulation‘ followed by ‘Next‘ to use the given template and define the settings of the campaign.
