The OutThink Phishing Simulations editor is designed to give you control over your simulations. With this tool, you can customize simulations to fit your unique needs. Not only can you modify the text to convey your message effectively, but you also have the flexibility to select the domain that best suits your scenario.
How to:
- Initiate your campaign by setting up a Phishing Simulation as you normally would. After you pick a template, you’ll notice two new buttons:

- The “Change” button allows you to edit the domain for your phishing simulation emails.
- “Edit template” redirects you to the template editor where you can modify the text across various languages.
- Editing Made Simple:
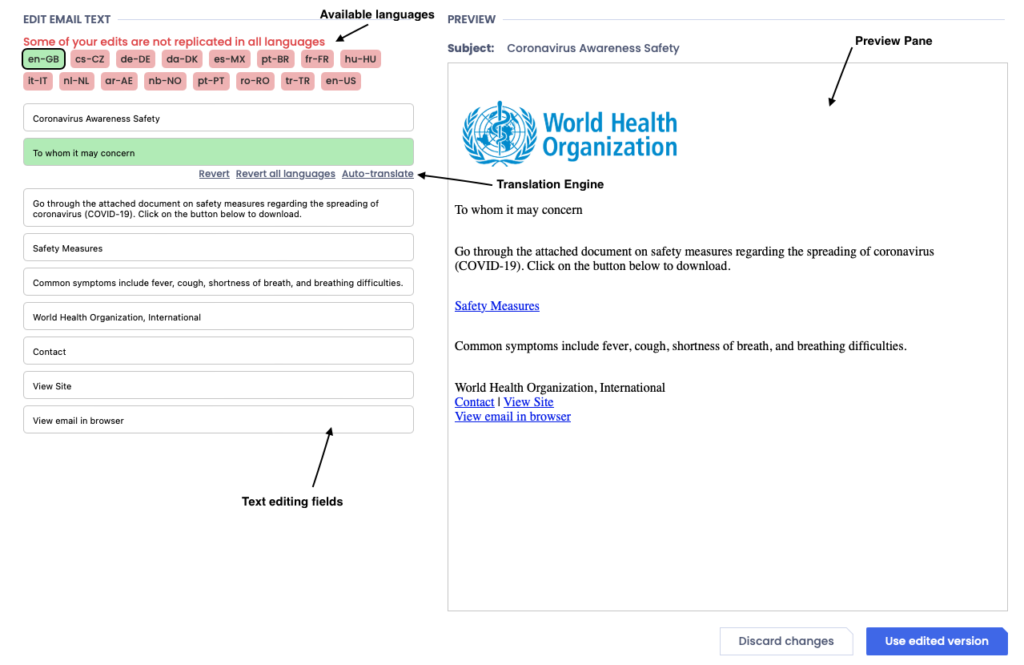
After opting to “Edit Template” you’ll be redirected to the template editor, where you’ll see the following key elements:
- Available Languages: Clickable options let you switch between available languages. Edited languages are highlighted in green, while those needing attention are marked in red. For instance, in the capture below “To whom it may concern” is edited in en-GB but not in other languages.
- Text Editing Fields: Here you can make text alterations in your preferred language.
- Translation Engine: This feature offers the flexibility to undo changes or auto-translate text into multiple languages.
- Image editor: This feature allows any image used in the template to be downloaded and/or replaced. The uploaded image must be in PNG format and match the size of the image currently used in the template.
- Tips to resize the image:
- Windows: Open the image in Photos, click on the three dots in the top right, choose Resize, and select a preset or custom size.
- Mac: Open the image in Preview, go to Tools > Adjust Size, and set your dimensions.
- Preview Pane: Preview your edits in real time and ensure everything is perfect before saving.

- Review and save:
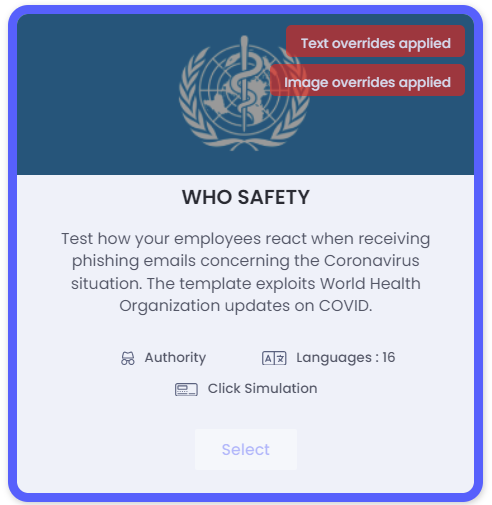
Once you’ve fine-tuned the phishing simulation to your liking, proceed to create the campaign as you normally would. Your template will now display the “Text overrides applied” label.

4. Send the campaign:
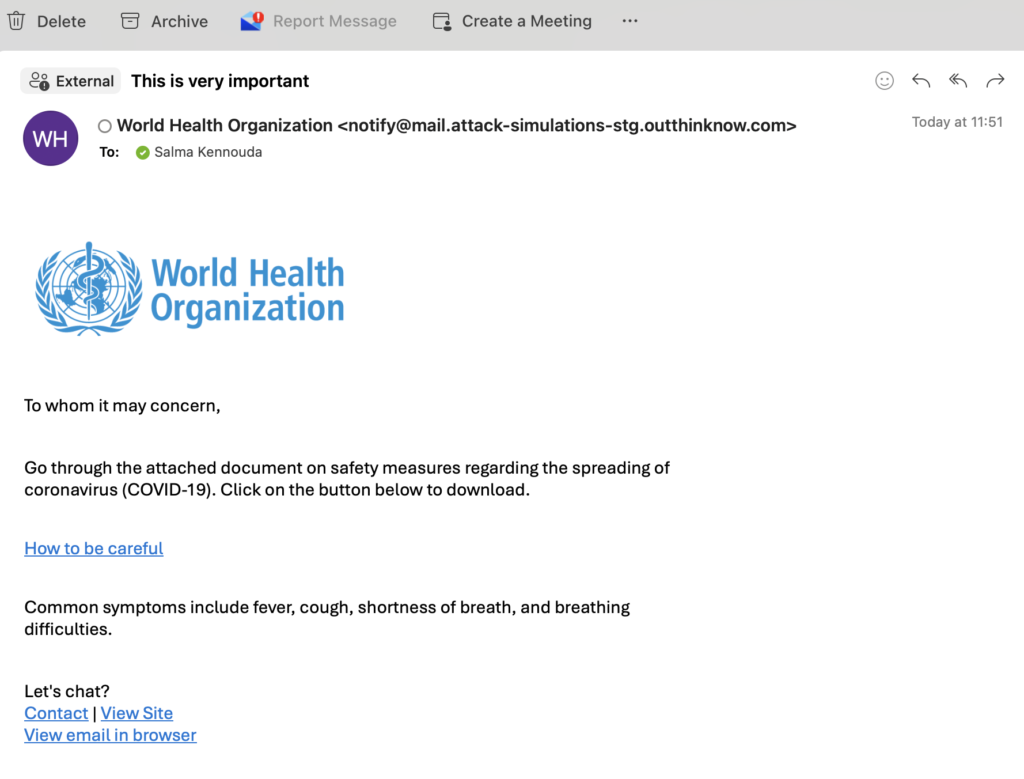
The email will incorporate all the edits you’ve made

How to – Video
To review edits that were made to a campaign you sent, click on the campaign to review, you’ll be directed to the campaign’s page, click on “View Simulation”.